
DIY Siding Repair: A Step-by-Step Guide for Homeowners


As a homeowner, maintaining the exterior of your home is crucial not only for aesthetic appeal but also for protecting your investment. Siding is a vital component of your home's exterior, and damage to it can lead to more significant issues if not addressed promptly. Fortunately, you don't always need to hire a professional to handle minor siding repairs. With a little guidance, you can tackle some repairs yourself. This guide will walk you through the steps of DIY siding repair.
Understanding Your Siding
Before diving into repairs, it's essential to understand the type of siding you have. Common materials include vinyl, wood, and fiber cement. Each type has its own repair methods and materials. Identifying your siding type will help you gather the correct tools and supplies for the job.
Inspect your siding regularly to catch any potential damage early. Look for signs like cracks, warping, or discoloration, which may indicate underlying issues.
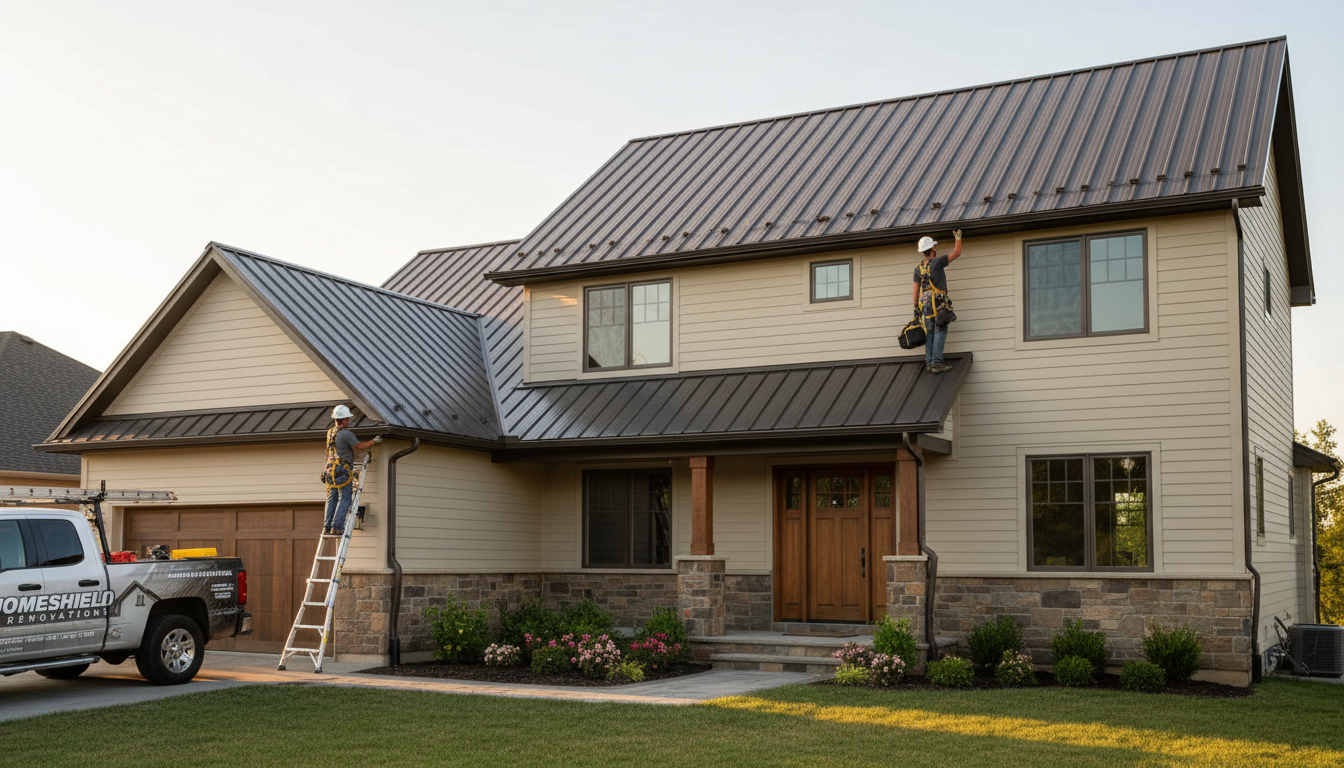
Gathering Your Tools and Materials
Once you've identified the type of siding, gather the necessary tools and materials. While the precise tools may vary, some common ones include:
- Hammer and nails
- Utility knife
- Caulk and caulking gun
- Replacement siding pieces
- Measuring tape
Having everything on hand before you start will make the process smoother and more efficient.
Step-by-Step Repair Guide
Step 1: Remove the Damaged Siding
Begin by removing the damaged section of siding. Use a utility knife or a siding removal tool to carefully detach the affected piece. Be gentle to avoid damaging the surrounding siding, especially if you're working with brittle materials like vinyl or fiber cement.

Step 2: Measure and Cut Replacement Siding
Once the damaged piece is removed, measure the gap to ensure a perfect fit for the replacement piece. Cut the new siding to size using a circular saw or utility knife. Accuracy is crucial here to prevent gaps that could lead to moisture infiltration.
Step 3: Install the New Siding
After cutting, position the replacement siding into place. Secure it using nails or screws, depending on your siding type. Ensure it's aligned correctly with the surrounding pieces.
Finishing Touches
After installing the new siding, apply caulk around the edges to seal any gaps. This step is vital for preventing water from seeping behind the siding and causing damage. Choose a weather-resistant caulk for the best results.
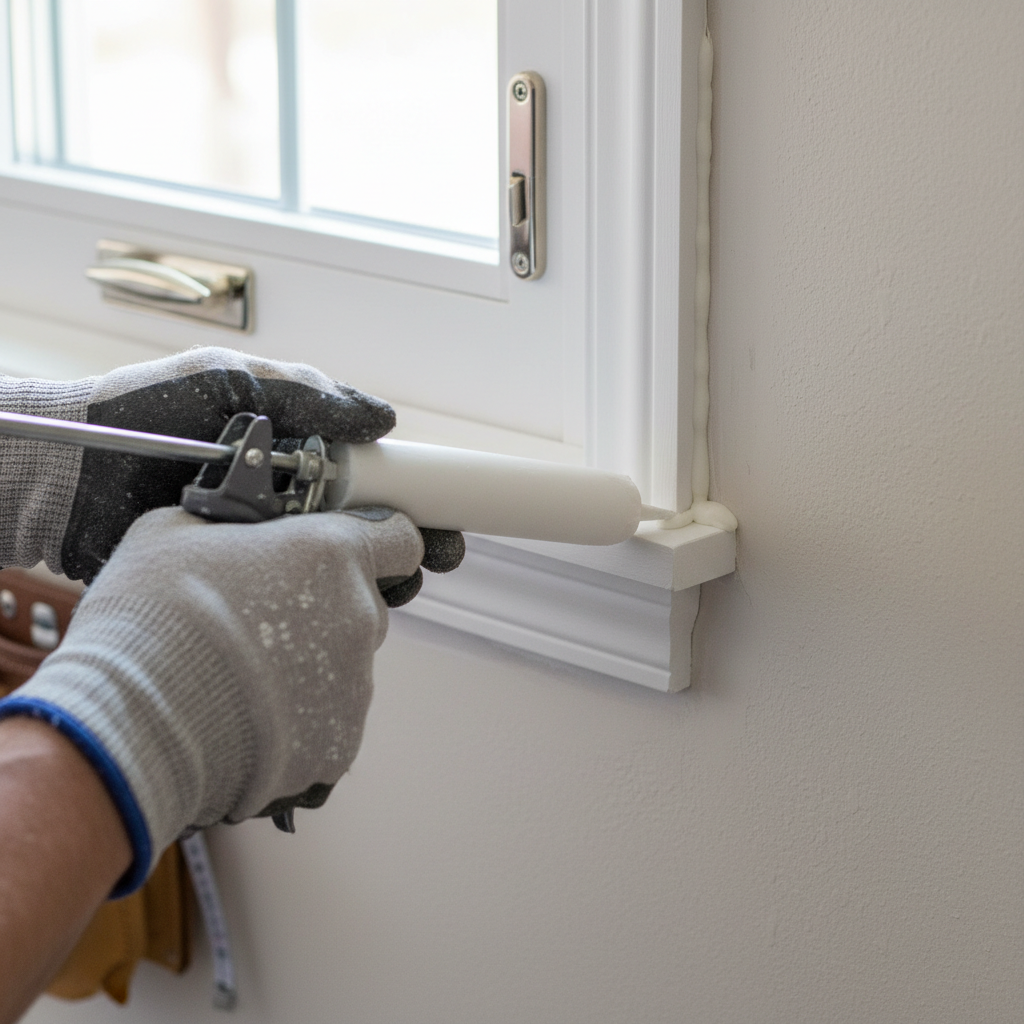
Once the caulk is applied, inspect the area to ensure everything is secure. A fresh coat of paint may be necessary to match the new piece with the existing siding. This final step will ensure your repair is seamless and aesthetically pleasing.
Regular Maintenance Tips
Consistent maintenance can prevent future siding issues. Regularly clean your siding to remove dirt and mold, and perform routine inspections to catch minor problems early. Addressing small issues promptly can save you time and money in the long run.
By following this guide, you can confidently handle minor siding repairs yourself, saving money and ensuring your home remains protected and looking its best.