
DIY Sod Installation: A Step-by-Step Guide for Homeowners


Why Choose DIY Sod Installation?
If you're looking to transform your lawn quickly and efficiently, sod installation might just be the perfect project for you. Unlike seeding, which can take weeks to show results, sod offers an instant lawn. While hiring professionals is an option, taking the DIY route can be rewarding and cost-effective. With the right tools and preparation, you can achieve a lush, green lawn on your own.
Before diving into the process, it's essential to understand the benefits of sod. Not only does it provide immediate aesthetic appeal, but it also helps prevent soil erosion and offers a clean and even surface. Additionally, sod can improve air quality by filtering dust and dirt.
Gathering Your Tools and Materials
Before starting the installation, ensure you have all the necessary tools and materials. Here's a list of items you'll need:
- Sod (calculate the square footage of your lawn to determine the amount needed)
- Rake and shovel
- Wheelbarrow
- Garden hose and sprinkler
- Fertilizer
- Utility knife (for cutting sod pieces)
Having these tools ready will make the process smoother and more efficient.
Preparing Your Lawn
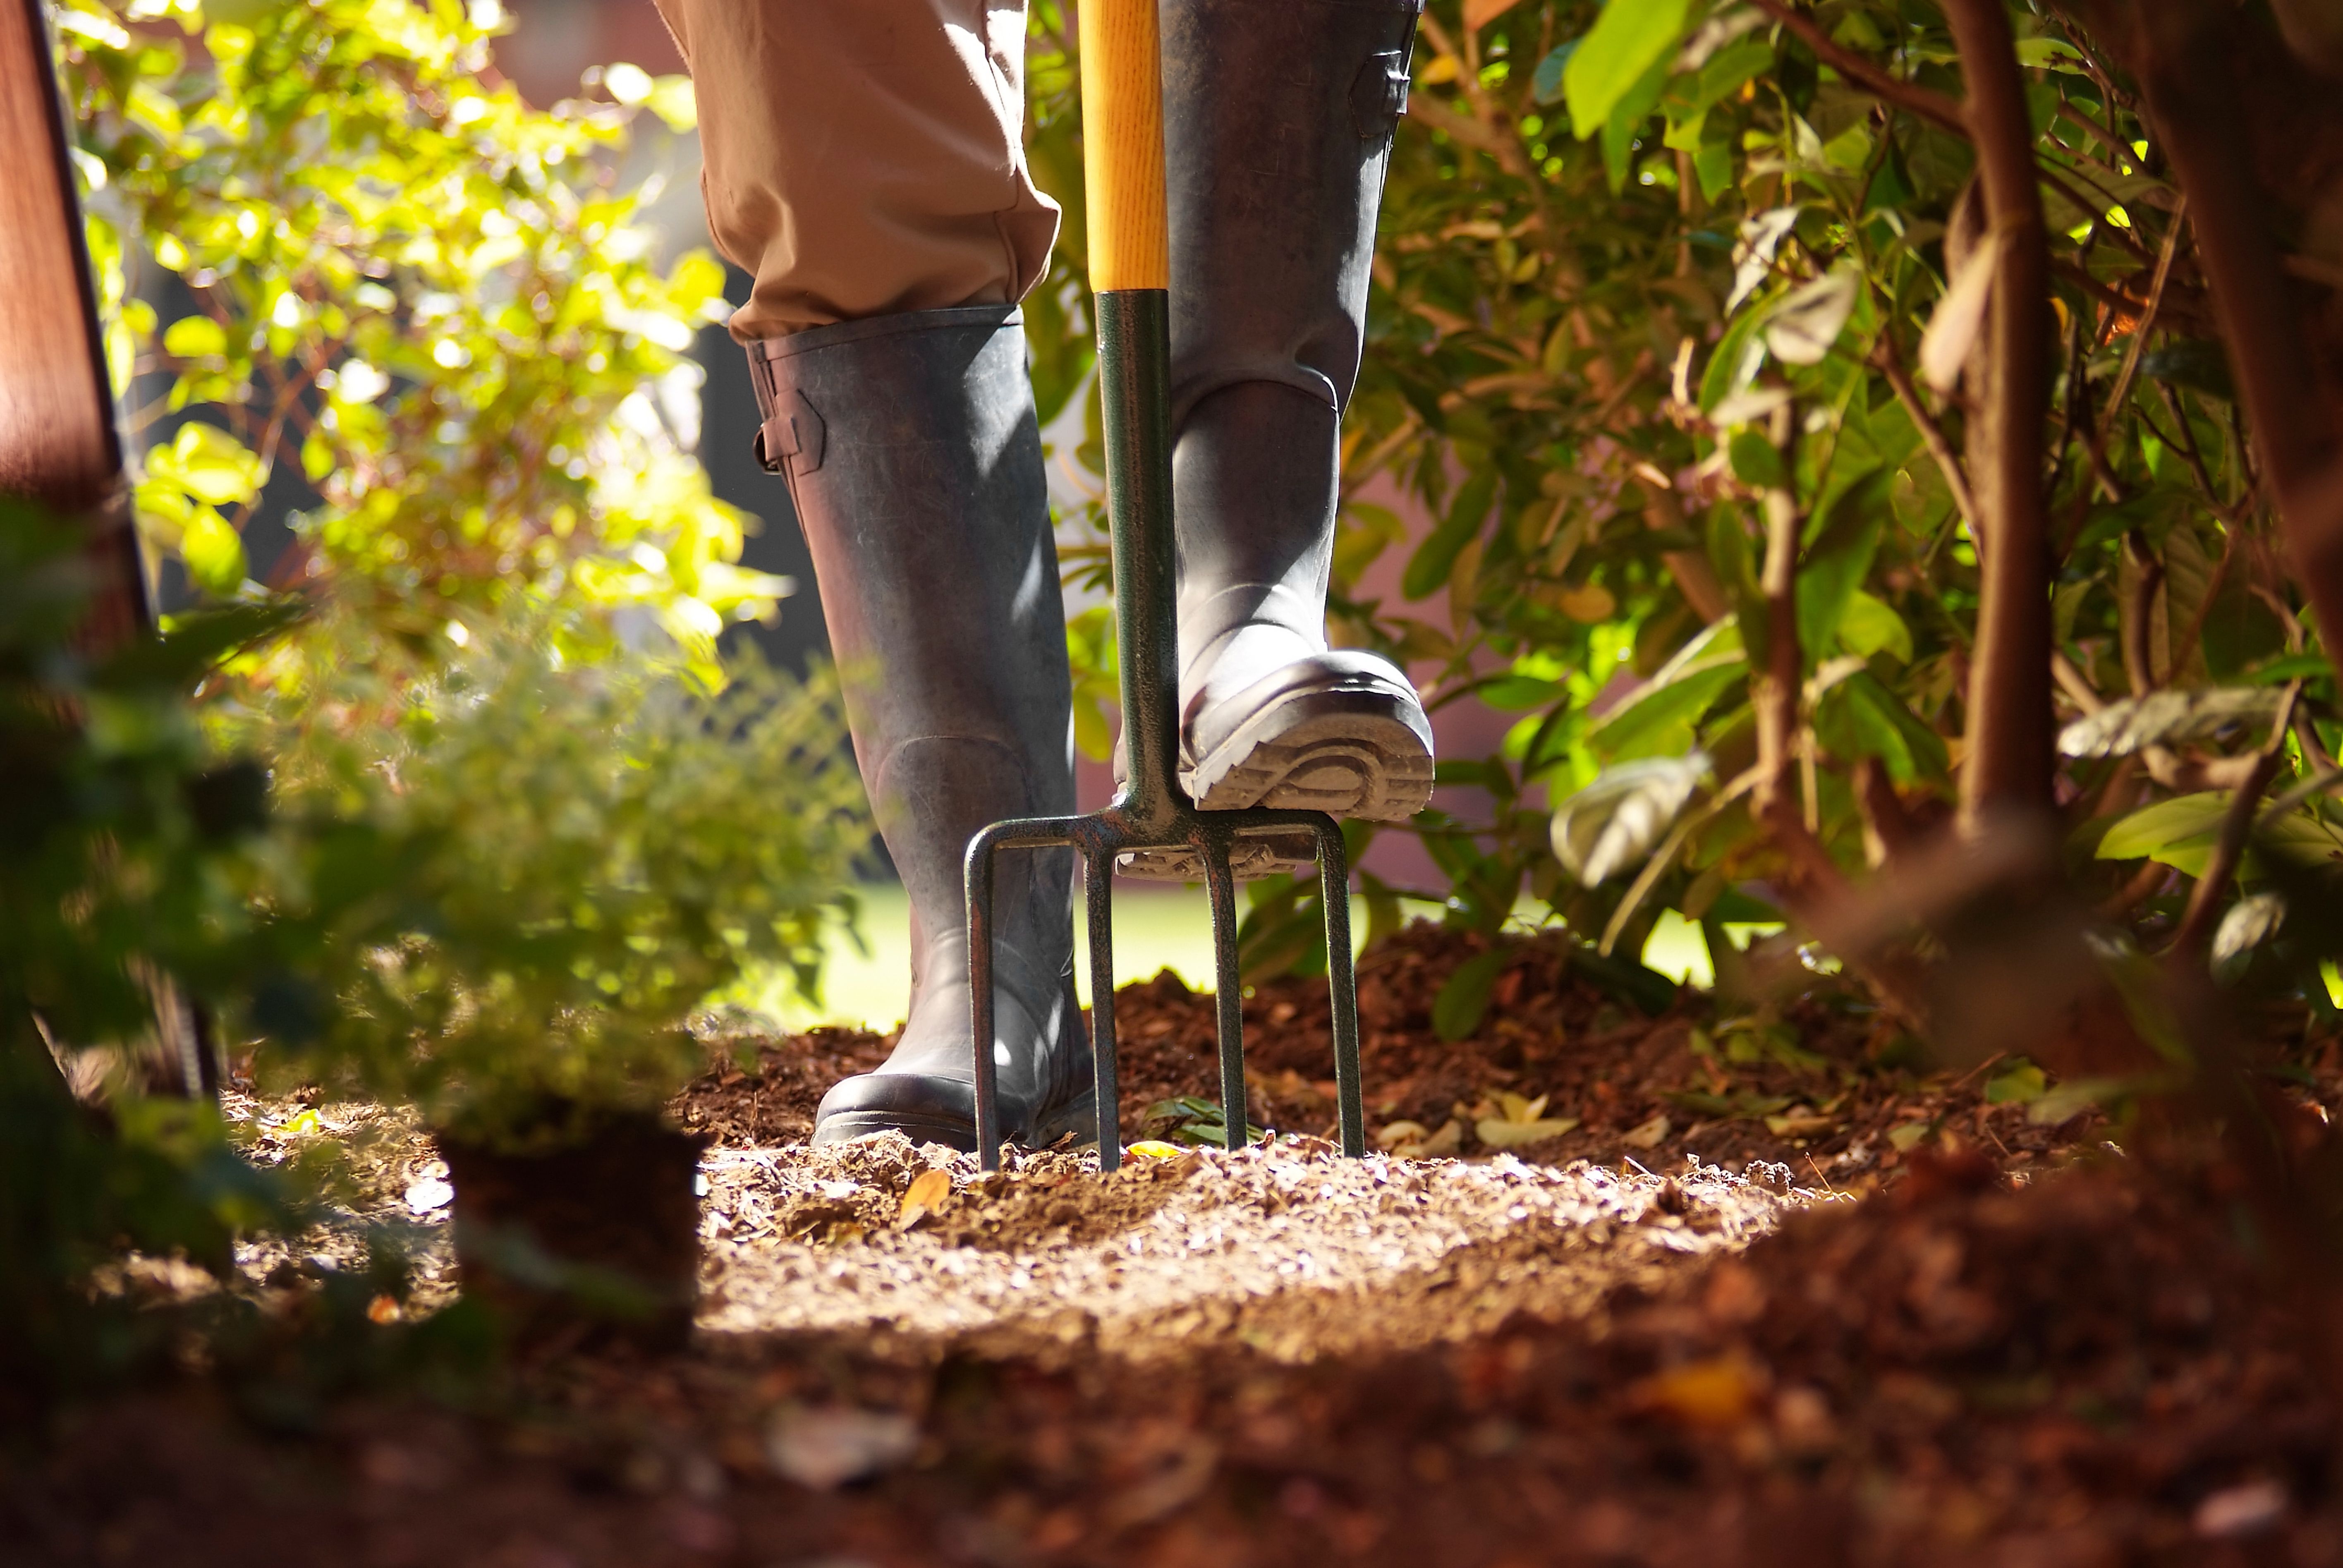
Preparation is key to a successful sod installation. Start by clearing your lawn of any debris, rocks, or old grass. Use a shovel and rake to level the ground. It's crucial to have a smooth, even surface for the sod to adhere properly.
Next, water the soil lightly to make it slightly damp but not muddy. This helps the sod take root more effectively. Apply a starter fertilizer to give your new lawn a nutrient boost right from the start.
Installing the Sod
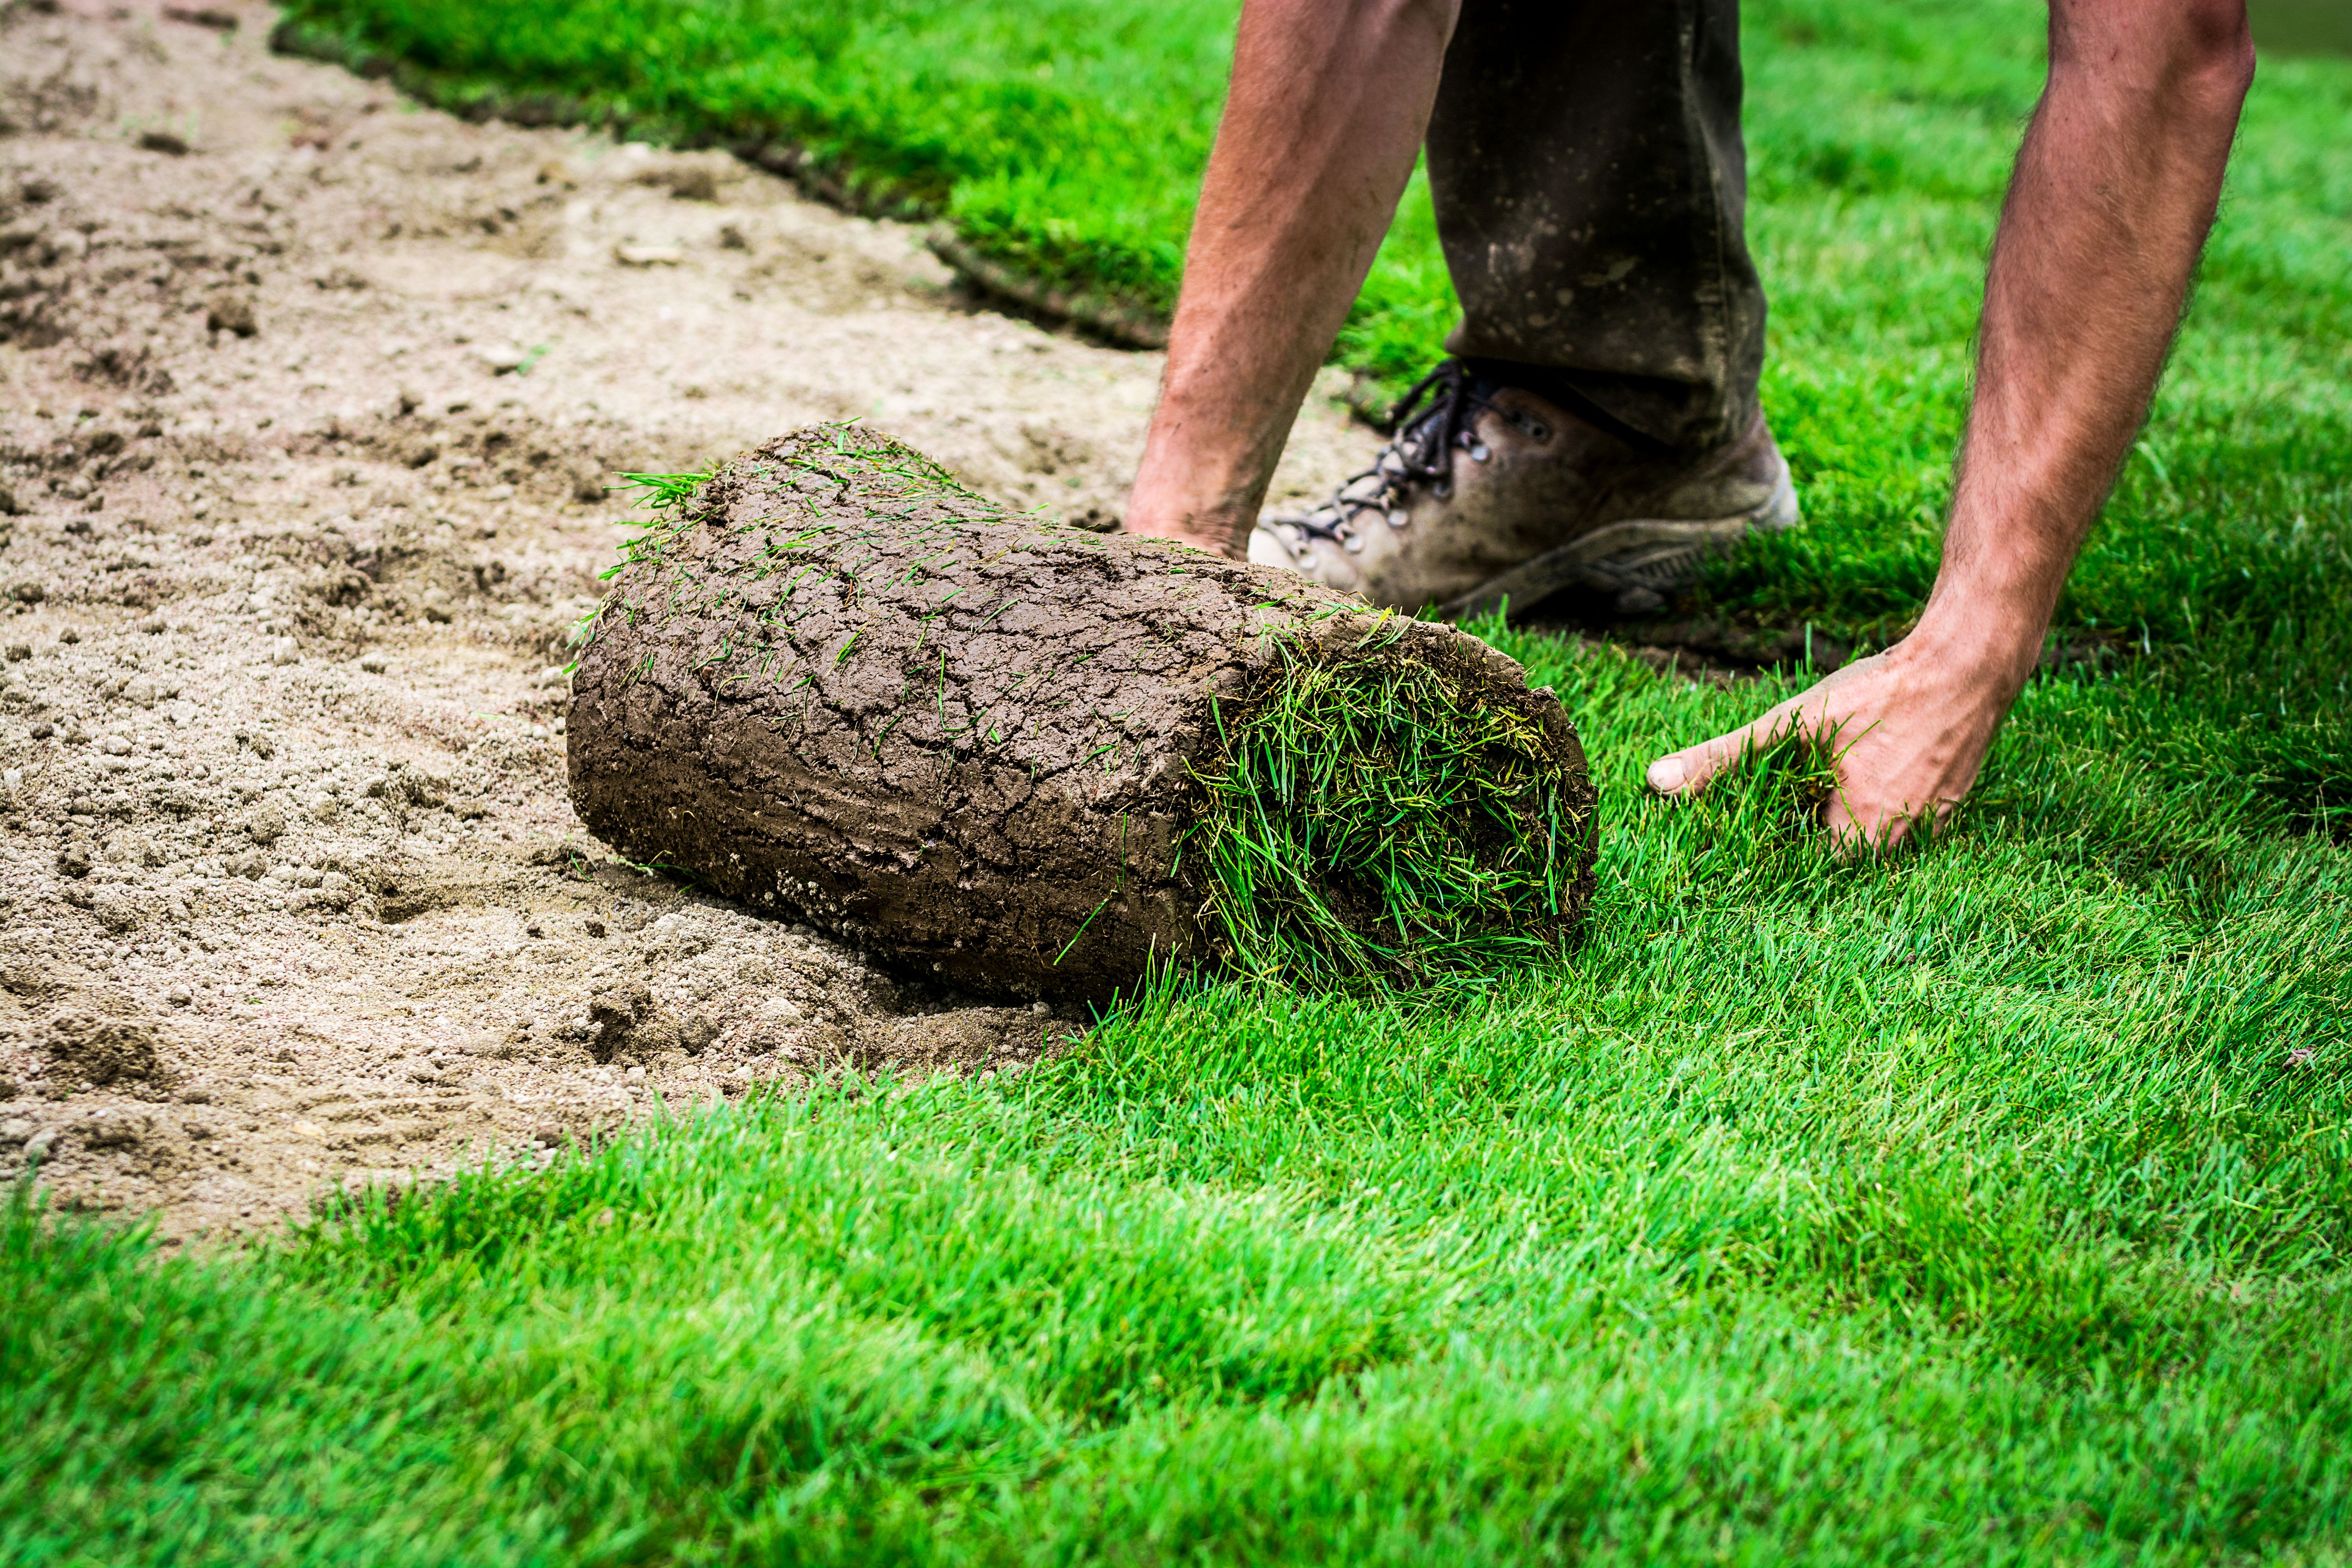
Now comes the exciting part—laying down the sod! Begin by laying the first row along a straight edge, such as a driveway or sidewalk. Make sure each piece fits snugly against the next, with no gaps in between.
- Stagger the seams: Like bricks in a wall, stagger the seams of each row to prevent erosion and create a seamless look.
- Trim excess: Use a utility knife to cut and fit pieces around curves or edges.
- Press firmly: Ensure good contact with the soil by pressing down on each piece as you lay it.
Caring for Your New Sod
Once all the sod is laid, it's important to water it thoroughly. The first watering should soak the sod and the soil beneath it. For the first two weeks, maintain frequent watering to keep the sod moist and encourage root growth.
Avoid heavy foot traffic on your new lawn during this initial period. After about two weeks, reduce watering frequency but continue to monitor moisture levels.
Fertilizing Tips
About six weeks after installation, apply a follow-up fertilizer to support continued growth and health. Choose a balanced fertilizer suitable for your grass type.
Troubleshooting Common Issues
Even with careful installation, you might encounter some issues. Here are a few common problems and their solutions:
- Browning patches: Check for inadequate watering or pests. Adjust your watering schedule or consult a pest control specialist if necessary.
- Sod lifting: Ensure edges are securely pressed down and check for gaps that might allow air in.
With patience and proper care, your DIY sod installation will result in a beautiful, thriving lawn that enhances your home's curb appeal. Enjoy your lush green oasis!