
Driveway Installation: A Step-by-Step Guide for Homeowners


Installing a new driveway can transform the appearance of your home and provide a functional space for parking vehicles. Whether you opt for concrete, asphalt, or pavers, understanding the installation process is crucial for a successful outcome. This guide will walk you through each step of the driveway installation process.
Planning and Preparation
Before breaking ground, it's important to plan the layout and design of your driveway. Consider factors such as the size of the driveway, the materials you want to use, and any local regulations or permits required. Sketch a layout that fits your needs and complements your home's exterior.
Prepare the site by removing any existing driveway surface, grass, or vegetation. Mark the boundaries for the new driveway using stakes and string, ensuring it's level with the surrounding landscape.

Excavation and Base Preparation
Proper excavation is essential for durability. Dig down to a depth that accommodates the thickness of your driveway material plus a base layer. This depth typically ranges from 8 to 12 inches depending on your chosen material and soil conditions.
After excavation, lay a solid base. For most driveways, a base of crushed stone or gravel is recommended. Spread the material evenly and compact it using a plate compactor to create a stable foundation.
Edging and Formwork
Edging is crucial for maintaining the shape of your driveway and preventing shifting. Install edging materials such as timber or metal along the borders. For concrete driveways, formwork is necessary to hold the shape while pouring. Use wooden boards to create forms along the edges, ensuring they are level and secure.
Material Installation
With the base prepared and edging in place, you can begin installing your chosen driveway material. If you're using concrete, mix and pour it into the forms, leveling it with a screed board. For asphalt driveways, lay the asphalt evenly using a spreader or hand tools.
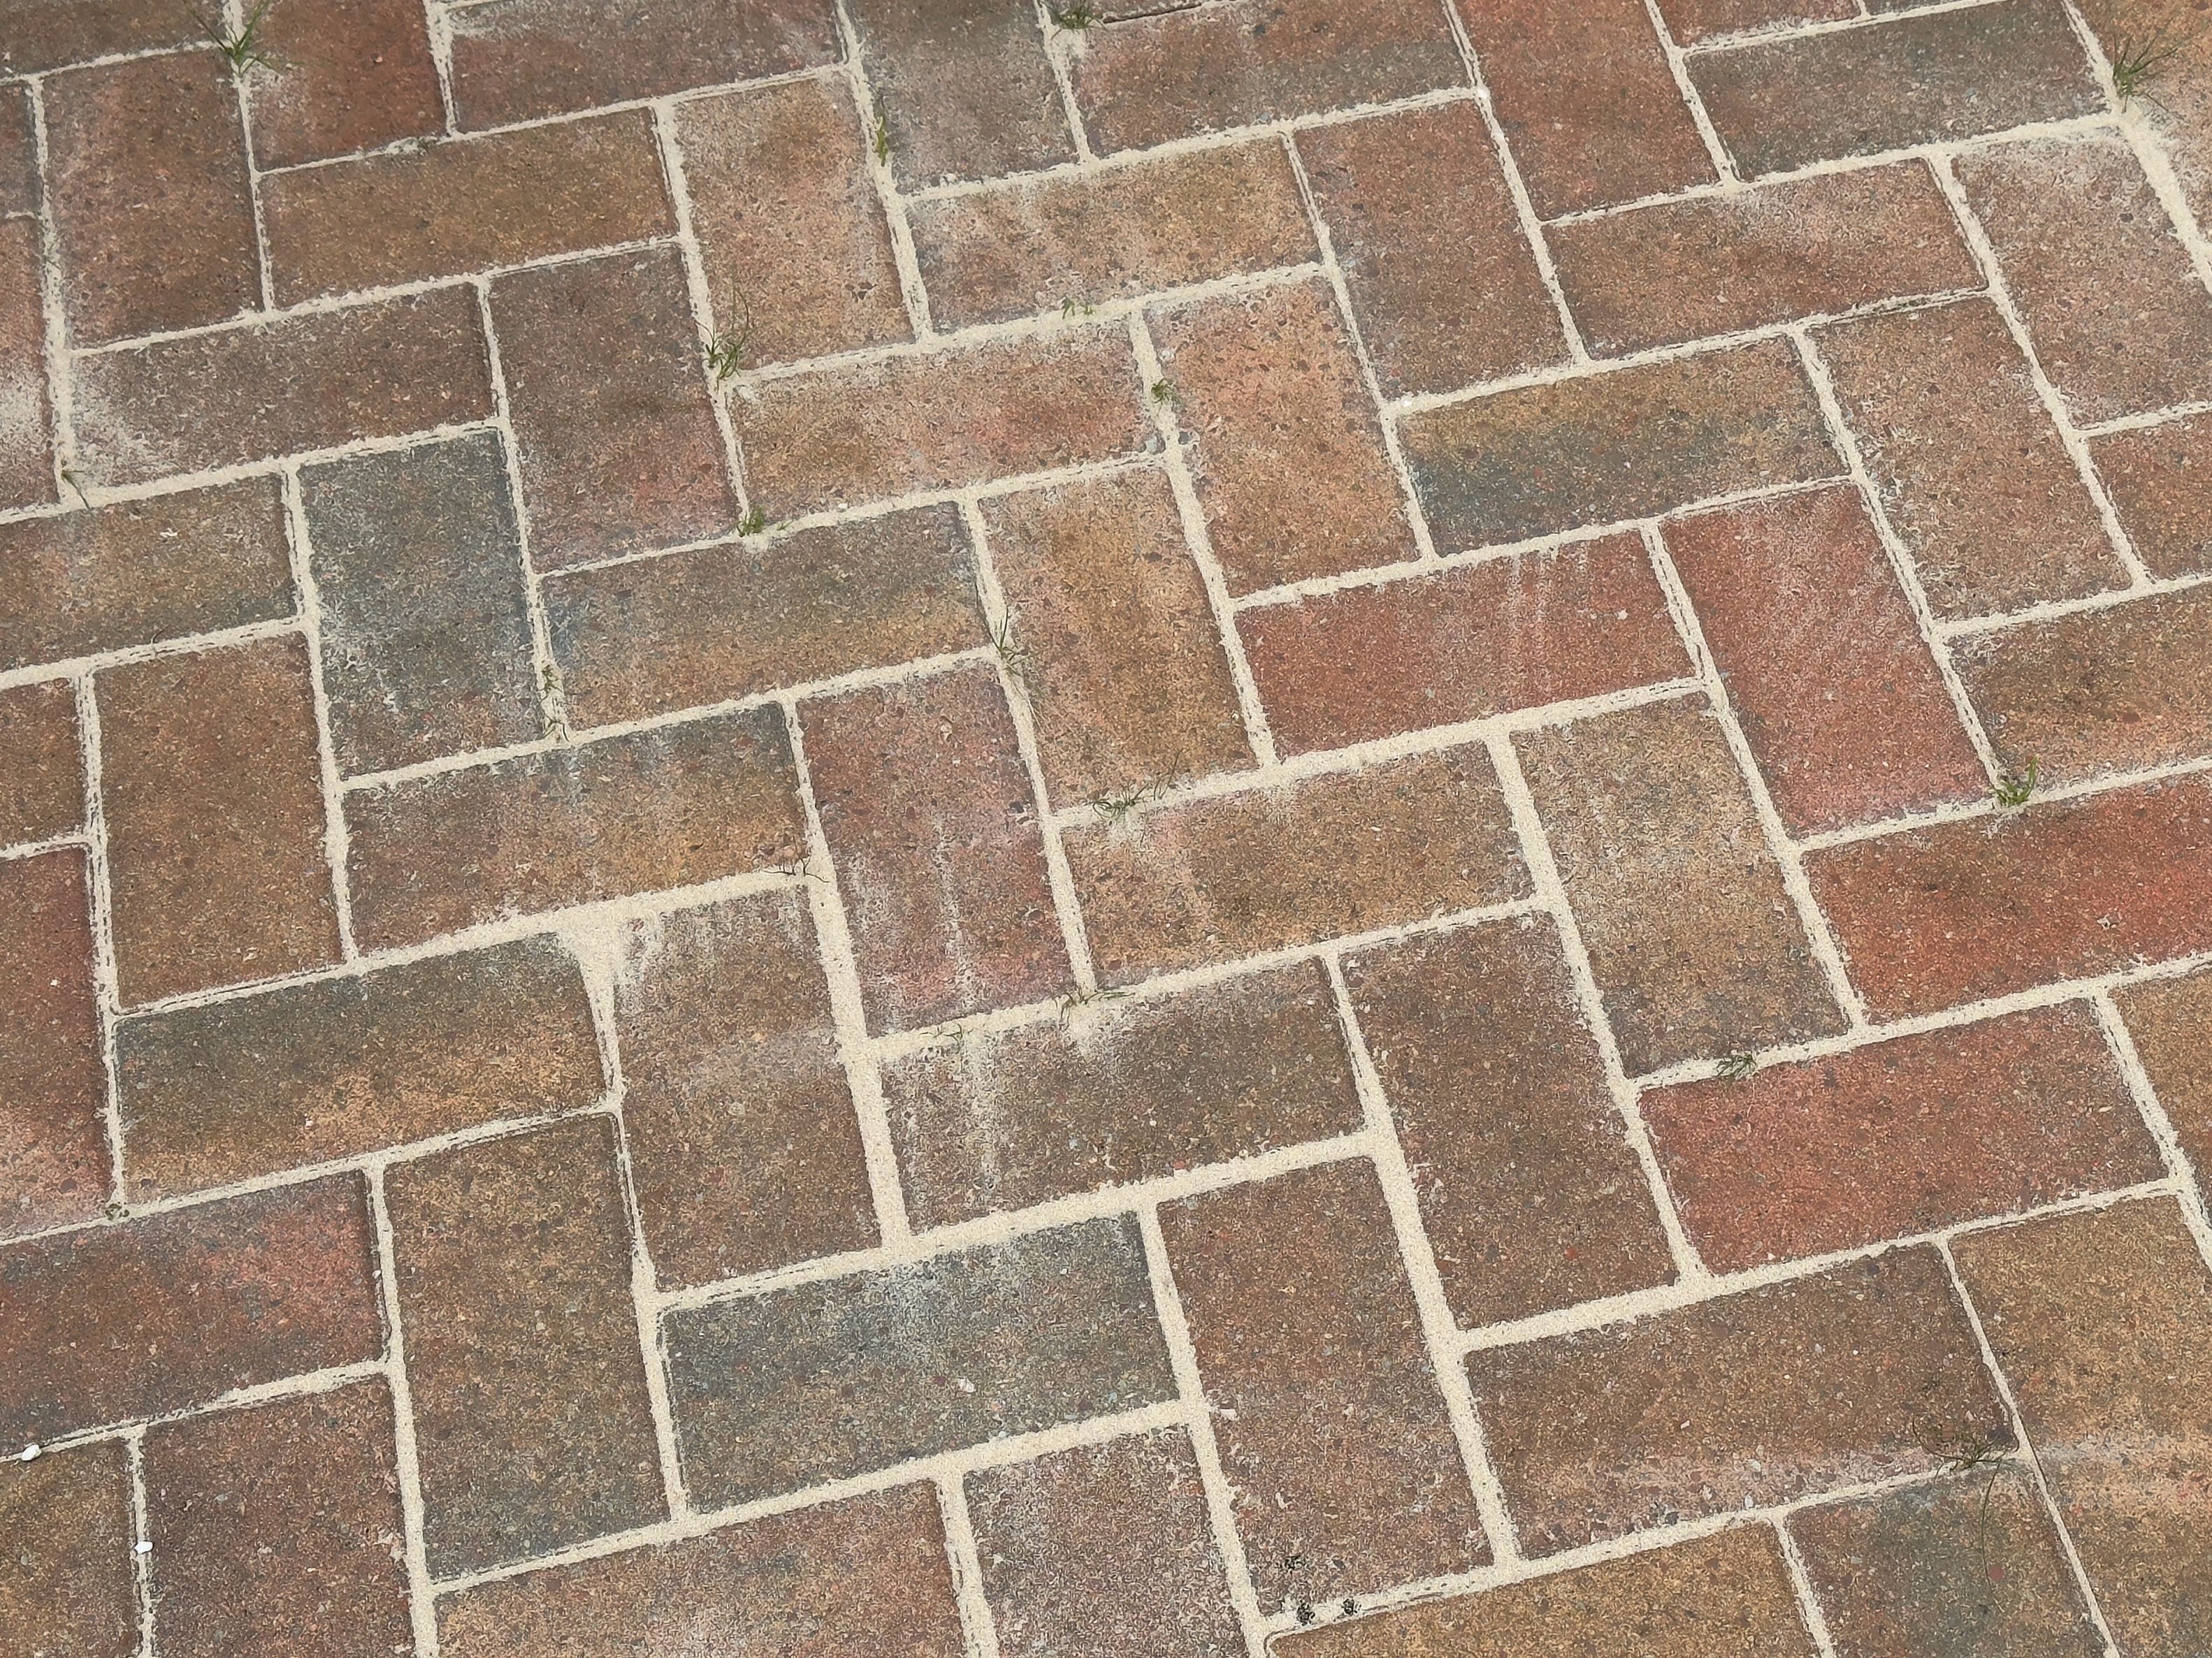
If you choose pavers, lay them in your desired pattern on top of the compacted base. Use a rubber mallet to ensure they are all level. Fill gaps with sand or polymeric sand to lock the pavers in place.
Finishing Touches
Once the material is installed, allow it to set or cure according to manufacturer recommendations. This can take several days for concrete and asphalt. During this time, avoid driving on the surface to prevent damage.

Consider adding sealant to protect against weather damage and stains, especially for asphalt and concrete driveways. Regular maintenance will extend the life of your driveway and keep it looking new for years.
Maintenance Tips
To maintain your new driveway, regularly sweep away debris and wash the surface to prevent staining. For concrete driveways, reseal every few years to maintain their appearance. Asphalt driveways may require periodic resurfacing to address cracks and potholes.
With these steps in mind, you'll be well-equipped to handle your driveway installation project confidently. This investment not only enhances curb appeal but also adds substantial value to your property.