How to Prepare Your Property for a New Driveway Installation


Understanding the Basics of Driveway Installation
Preparing your property for a new driveway installation is an exciting yet challenging task. A well-planned approach can significantly enhance the curb appeal and functionality of your home. Whether you're installing a driveway for the first time or replacing an old one, understanding the process is crucial for a successful project.
Before breaking ground, it's essential to choose the right material for your driveway. Options include asphalt, concrete, pavers, and gravel, each with its own set of advantages and maintenance requirements. Consider factors such as climate, budget, and aesthetic preferences when making your decision.
Planning and Design
A well-thought-out plan is the foundation of a successful driveway installation. Start by determining the size and shape of your driveway based on your property layout and needs. Consider whether you require additional space for parking or plan to integrate features like walkways or landscaping.
Next, check local regulations and zoning laws to ensure compliance with any requirements or restrictions. You may need to apply for permits or adhere to specific guidelines regarding drainage, setbacks, and material usage. Consulting with a professional contractor can help streamline this process.
Site Preparation
Once you have a detailed plan in place, it's time to prepare your site for installation. This step involves clearing the area of any obstacles such as trees, shrubs, rocks, or old structures. It's essential to ensure that the ground is level and free from debris to provide a stable base for your new driveway.
If your property has existing drainage issues, address them before proceeding with the installation. Proper drainage is critical to prevent water accumulation that can damage both the driveway and surrounding landscape over time.
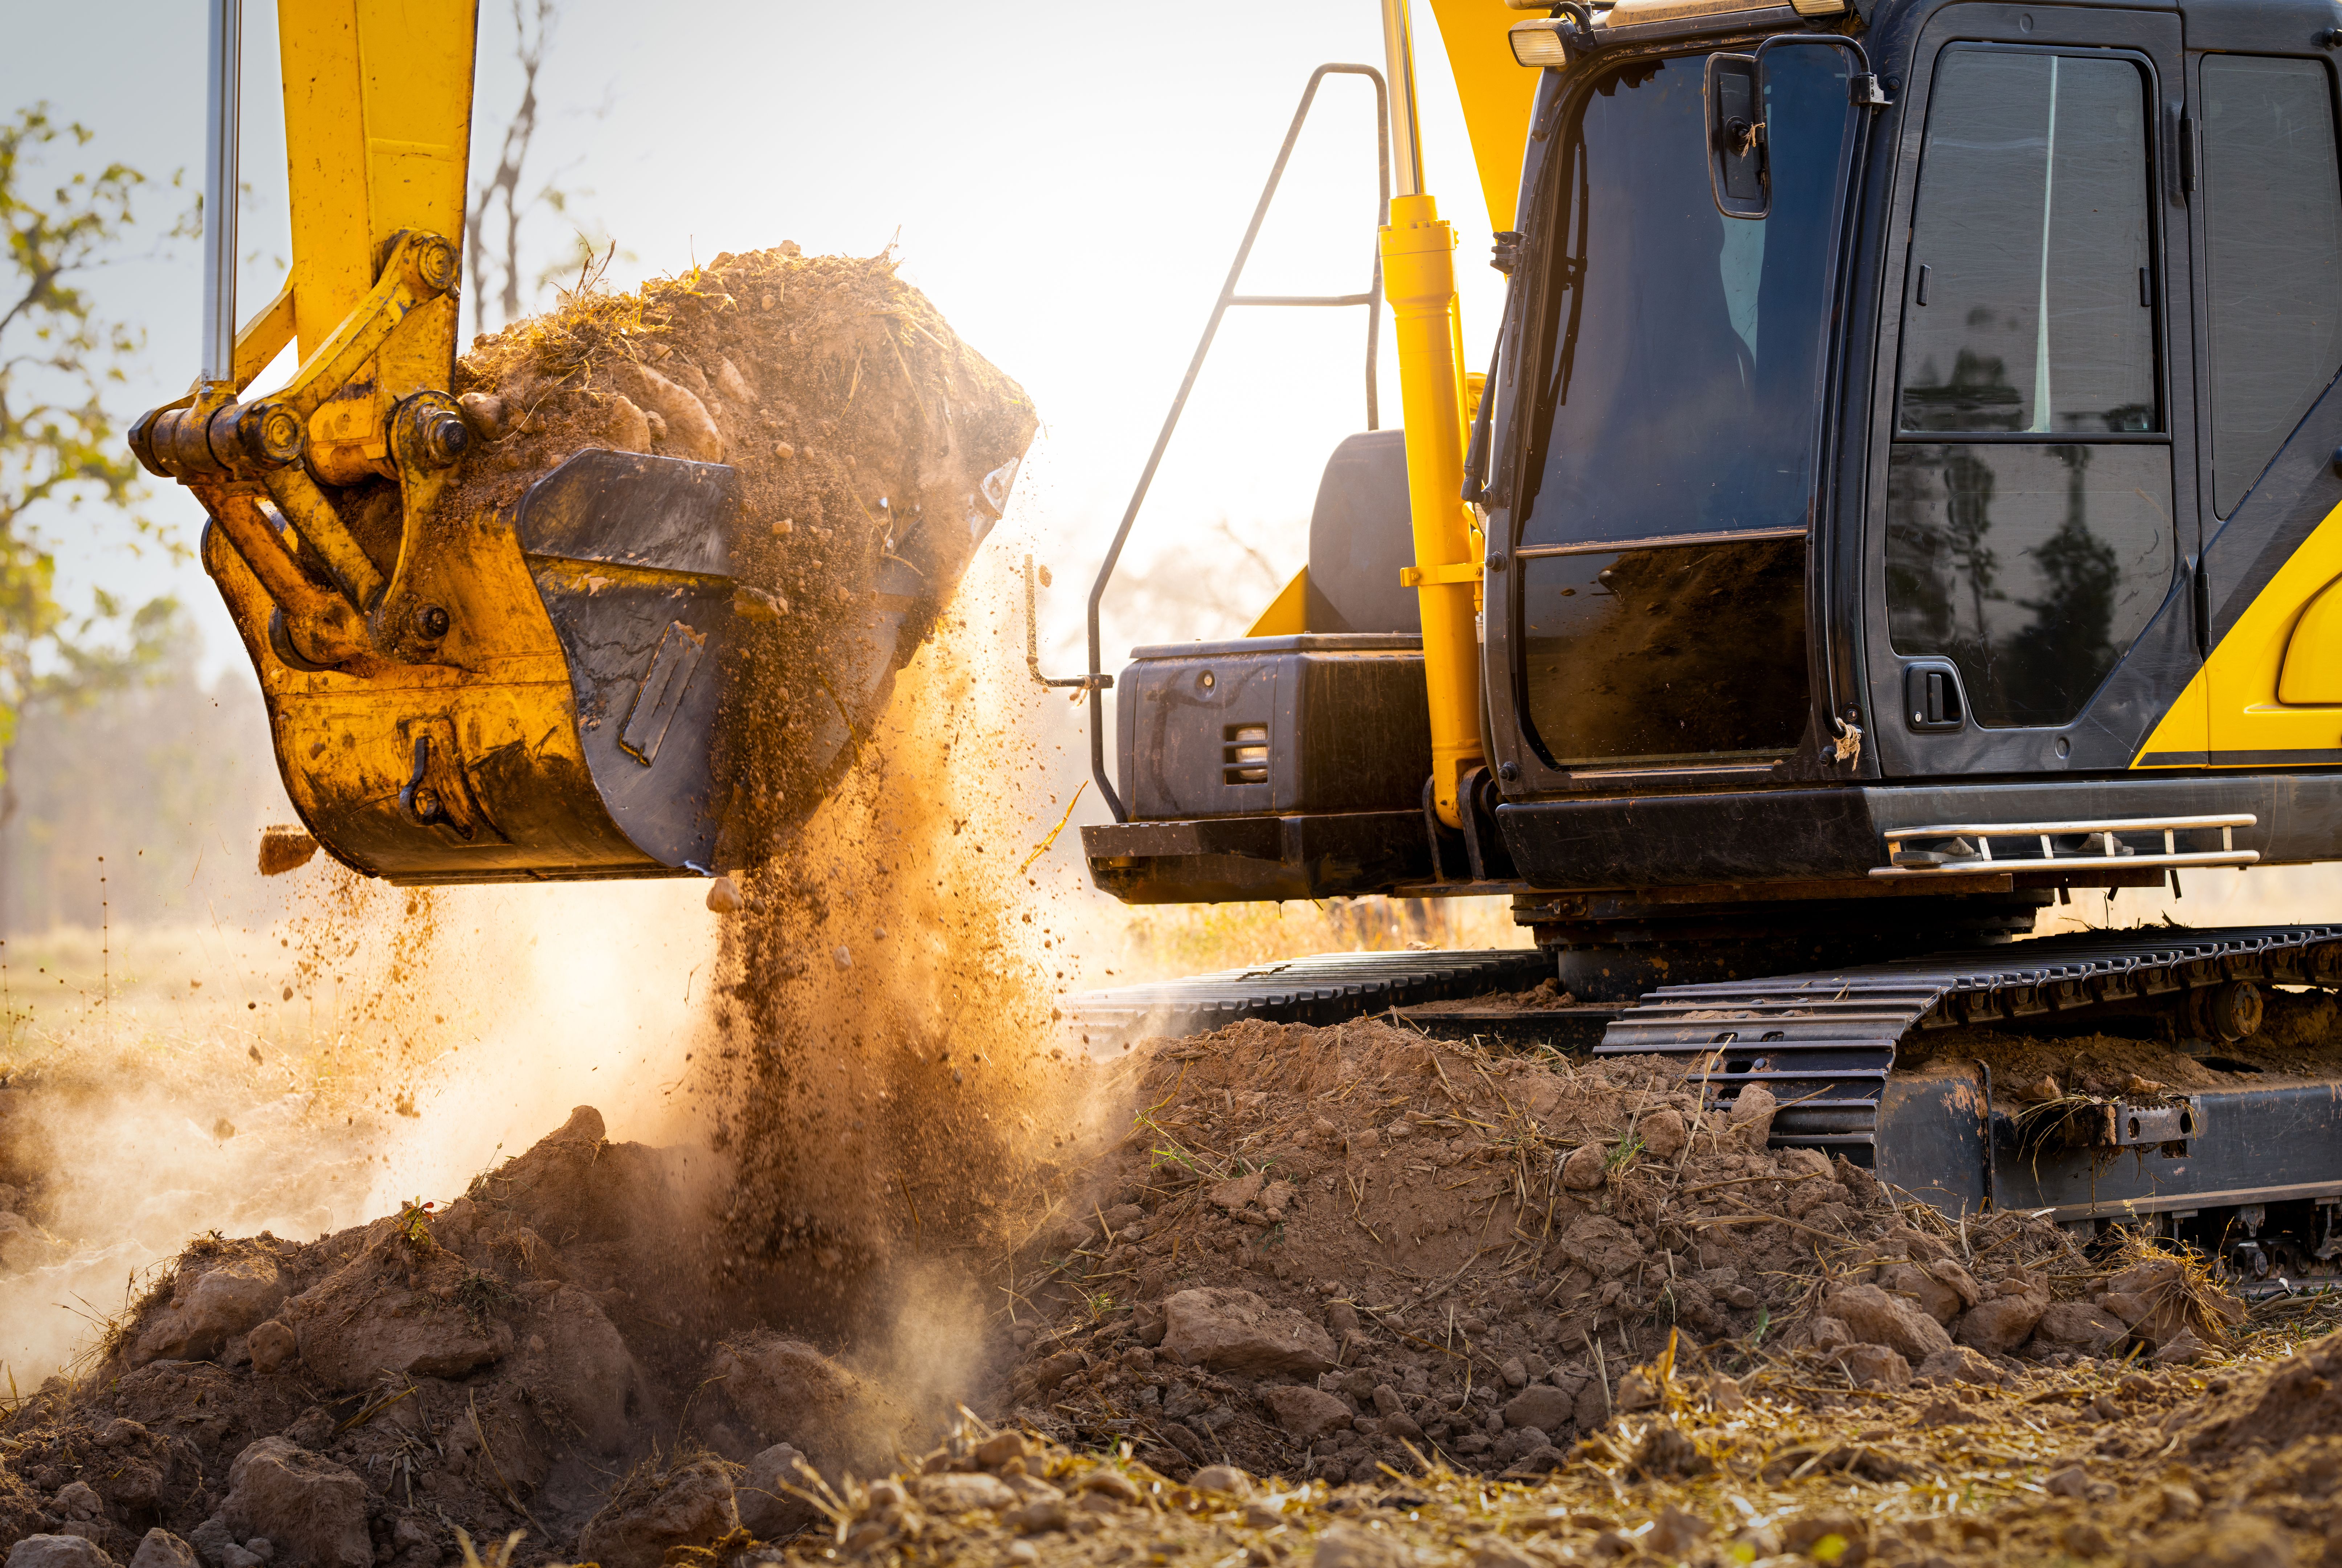
Excavation and Base Layer
The excavation stage involves removing the top layer of soil to create a foundation for your driveway. The depth of excavation will depend on the type of material chosen and the expected load the driveway will bear. Typically, a depth of 8 to 12 inches is recommended.
After excavation, install a base layer composed of crushed stone or gravel. This layer provides stability and aids in drainage, preventing water from pooling beneath the surface. Compact the base thoroughly to eliminate air gaps and create a solid foundation.
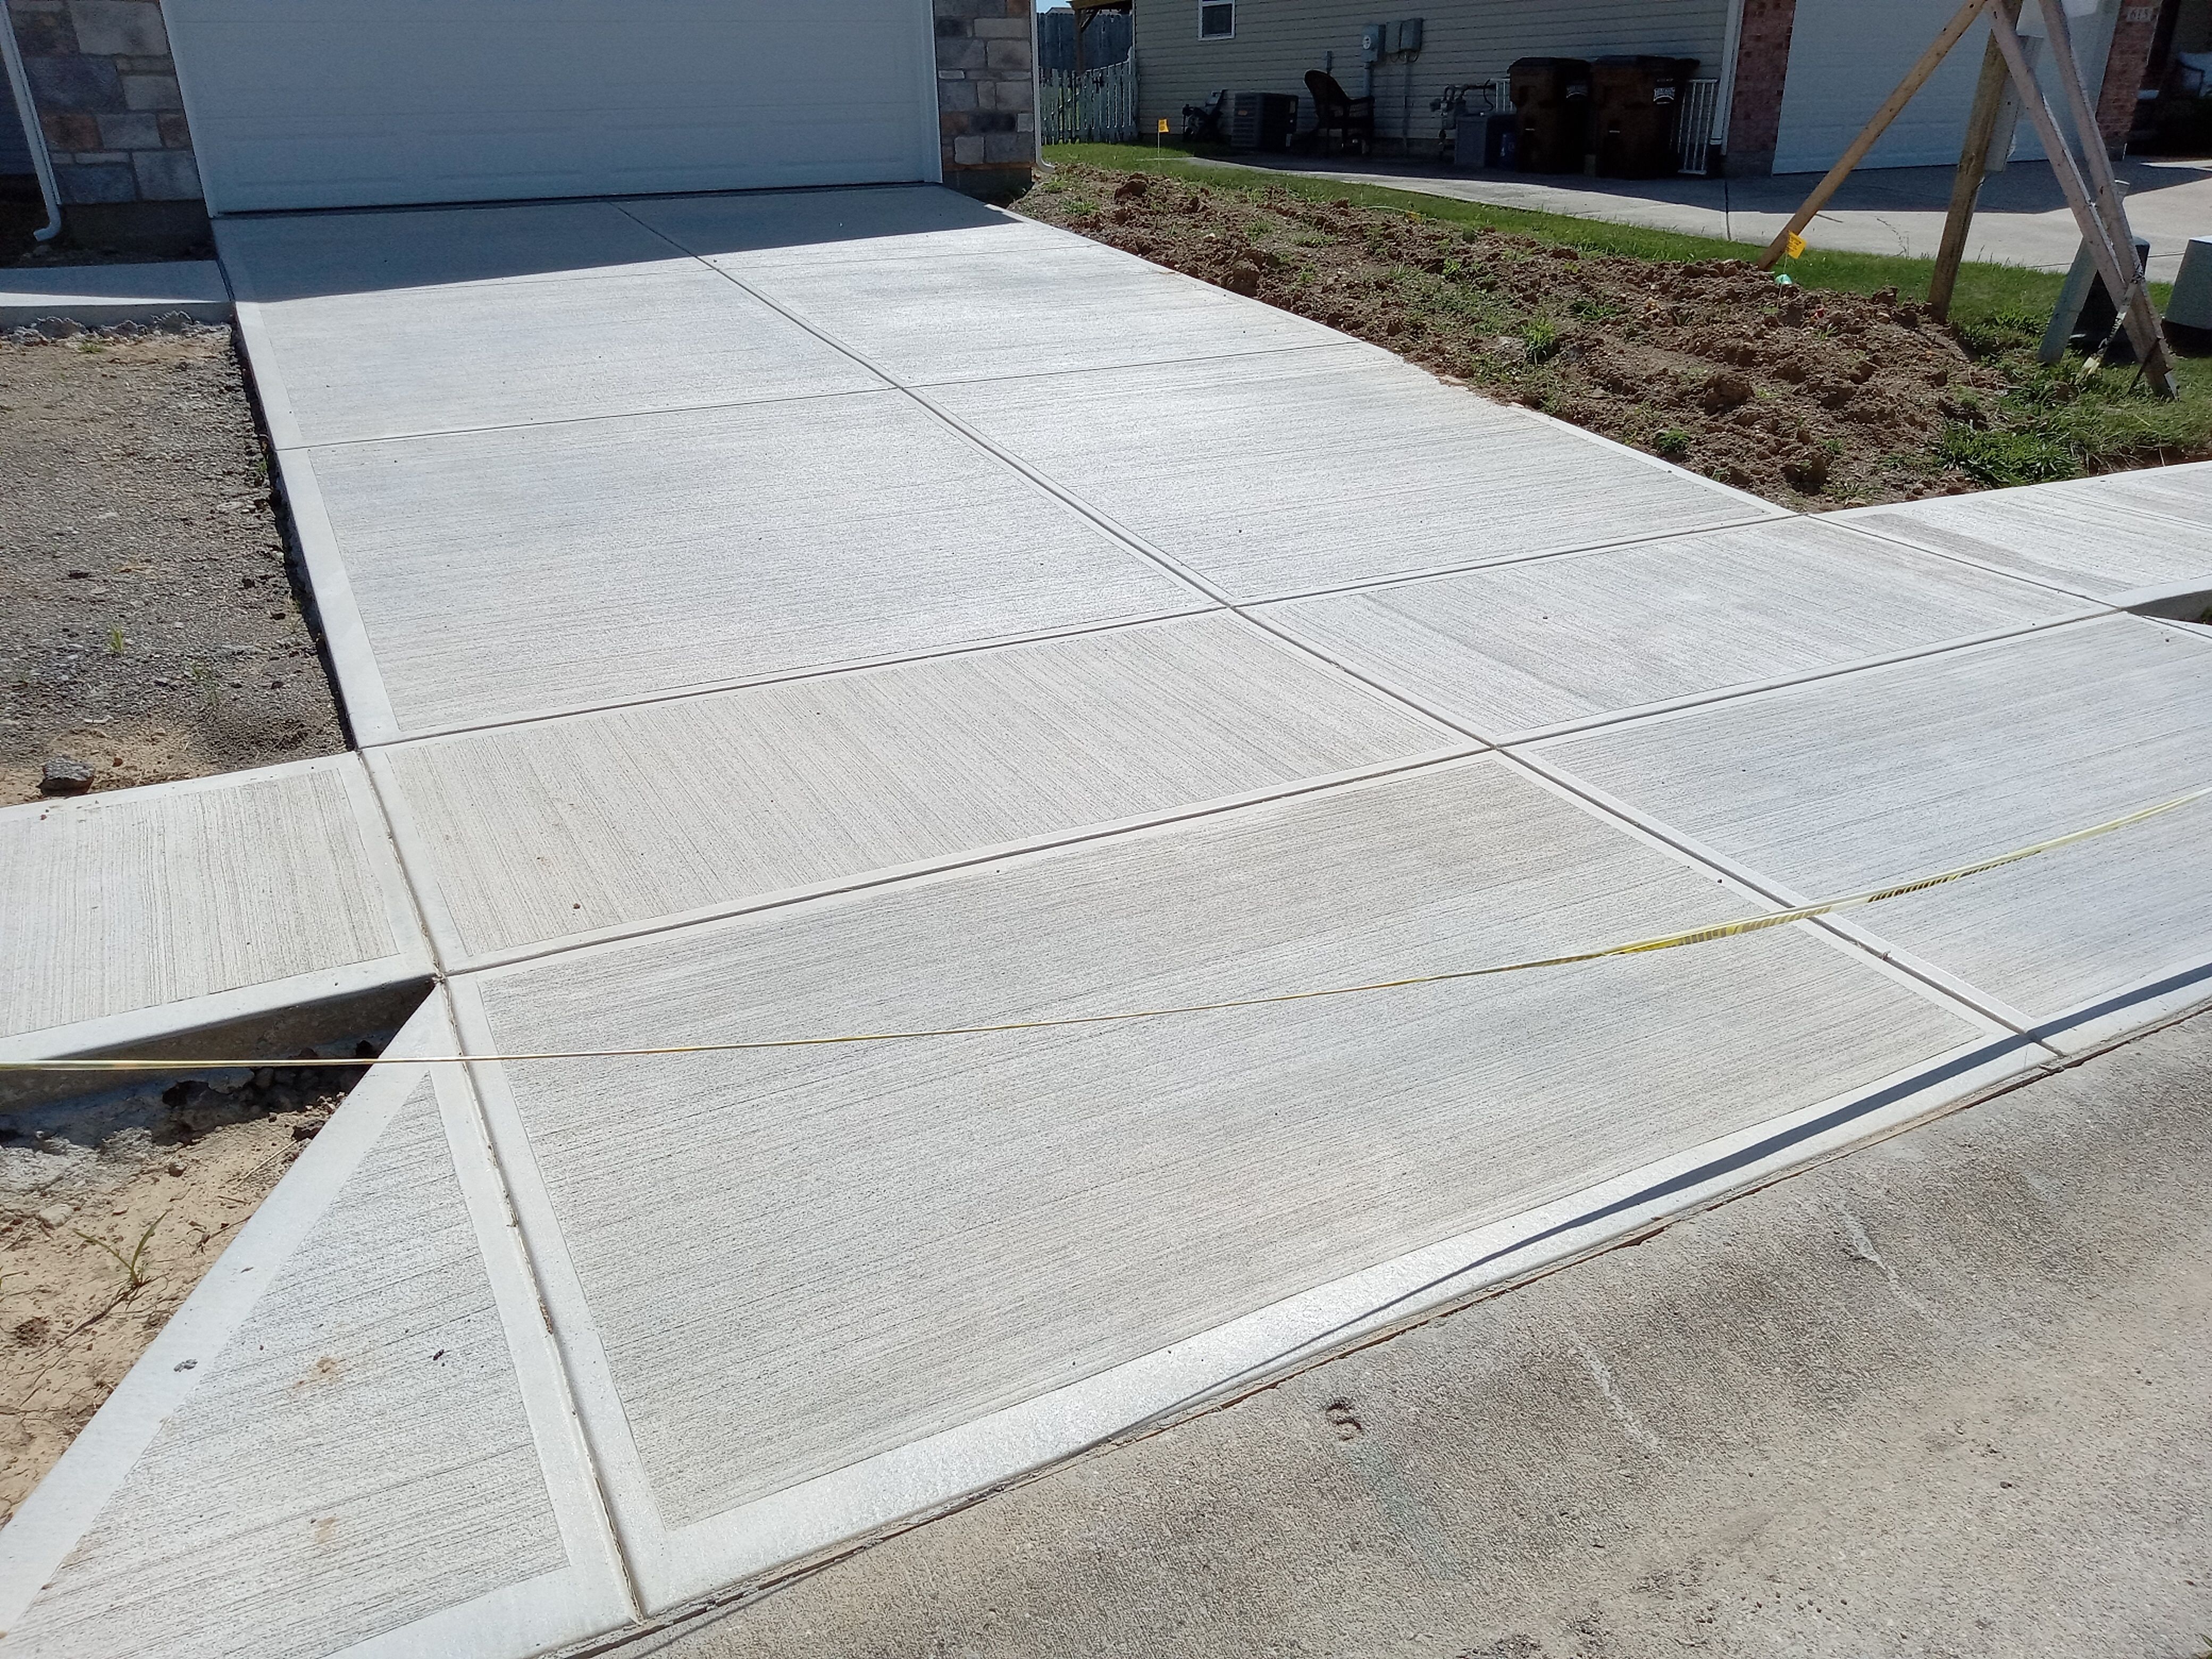
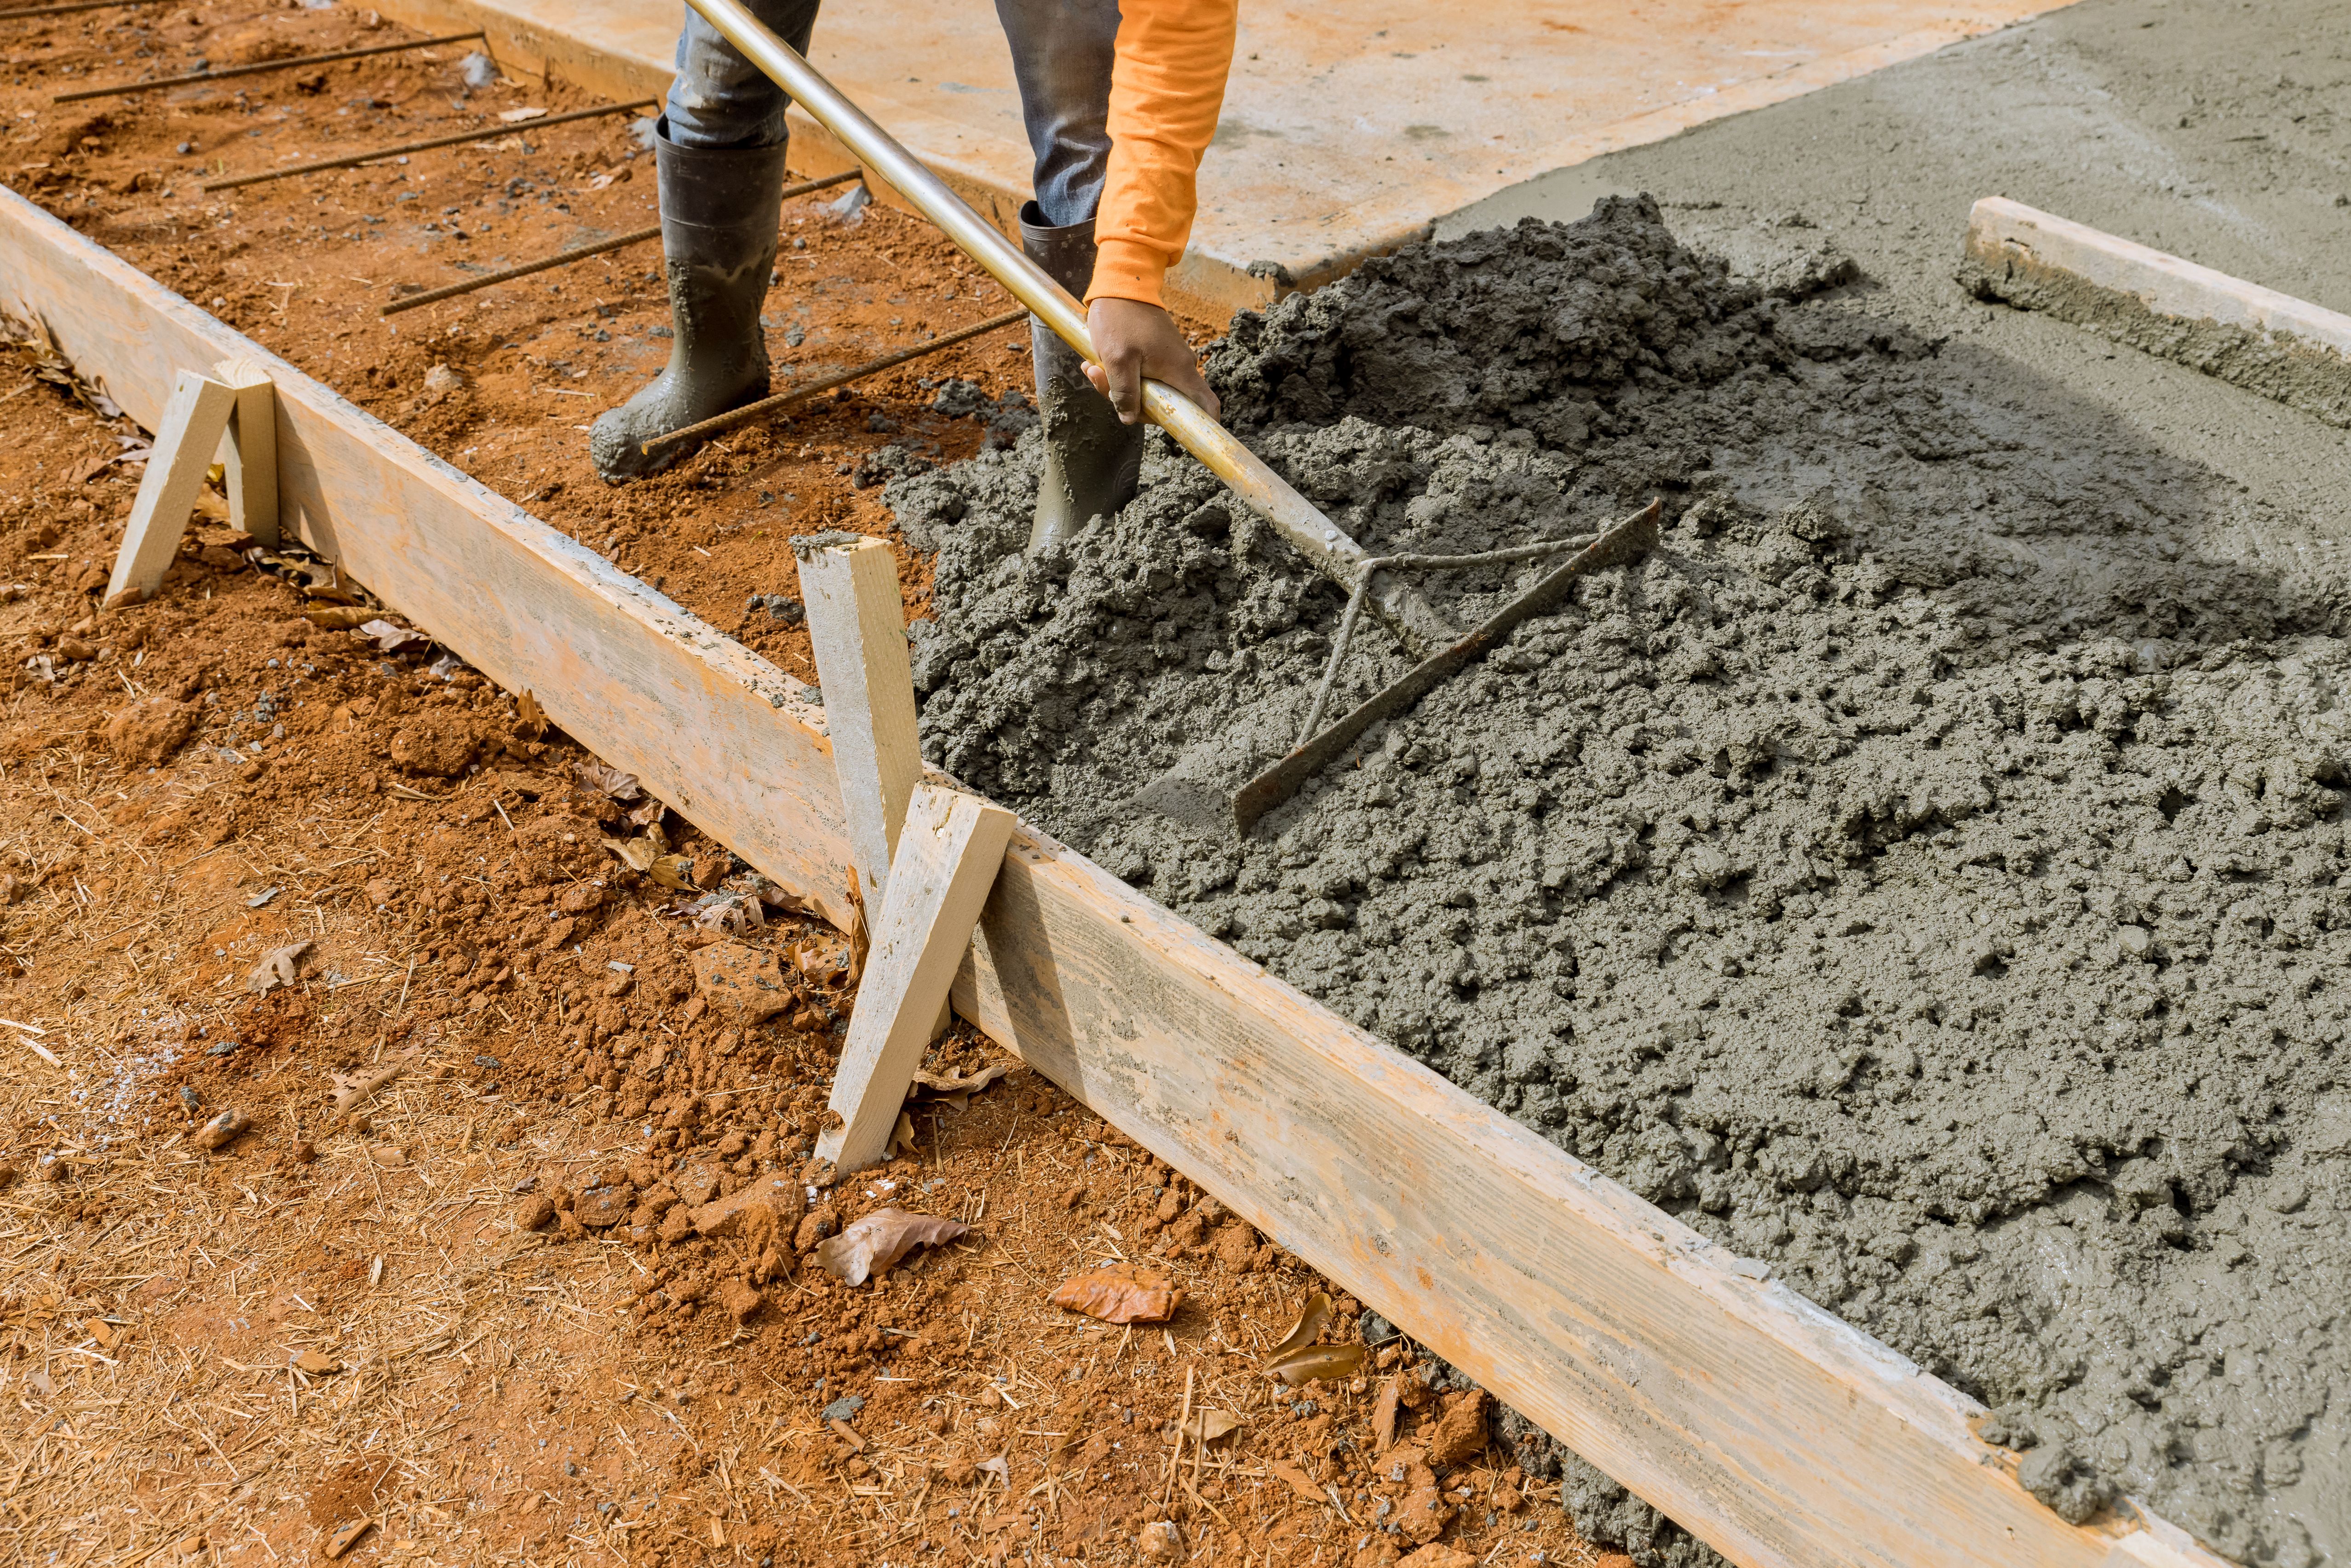
Laying the Driveway Material
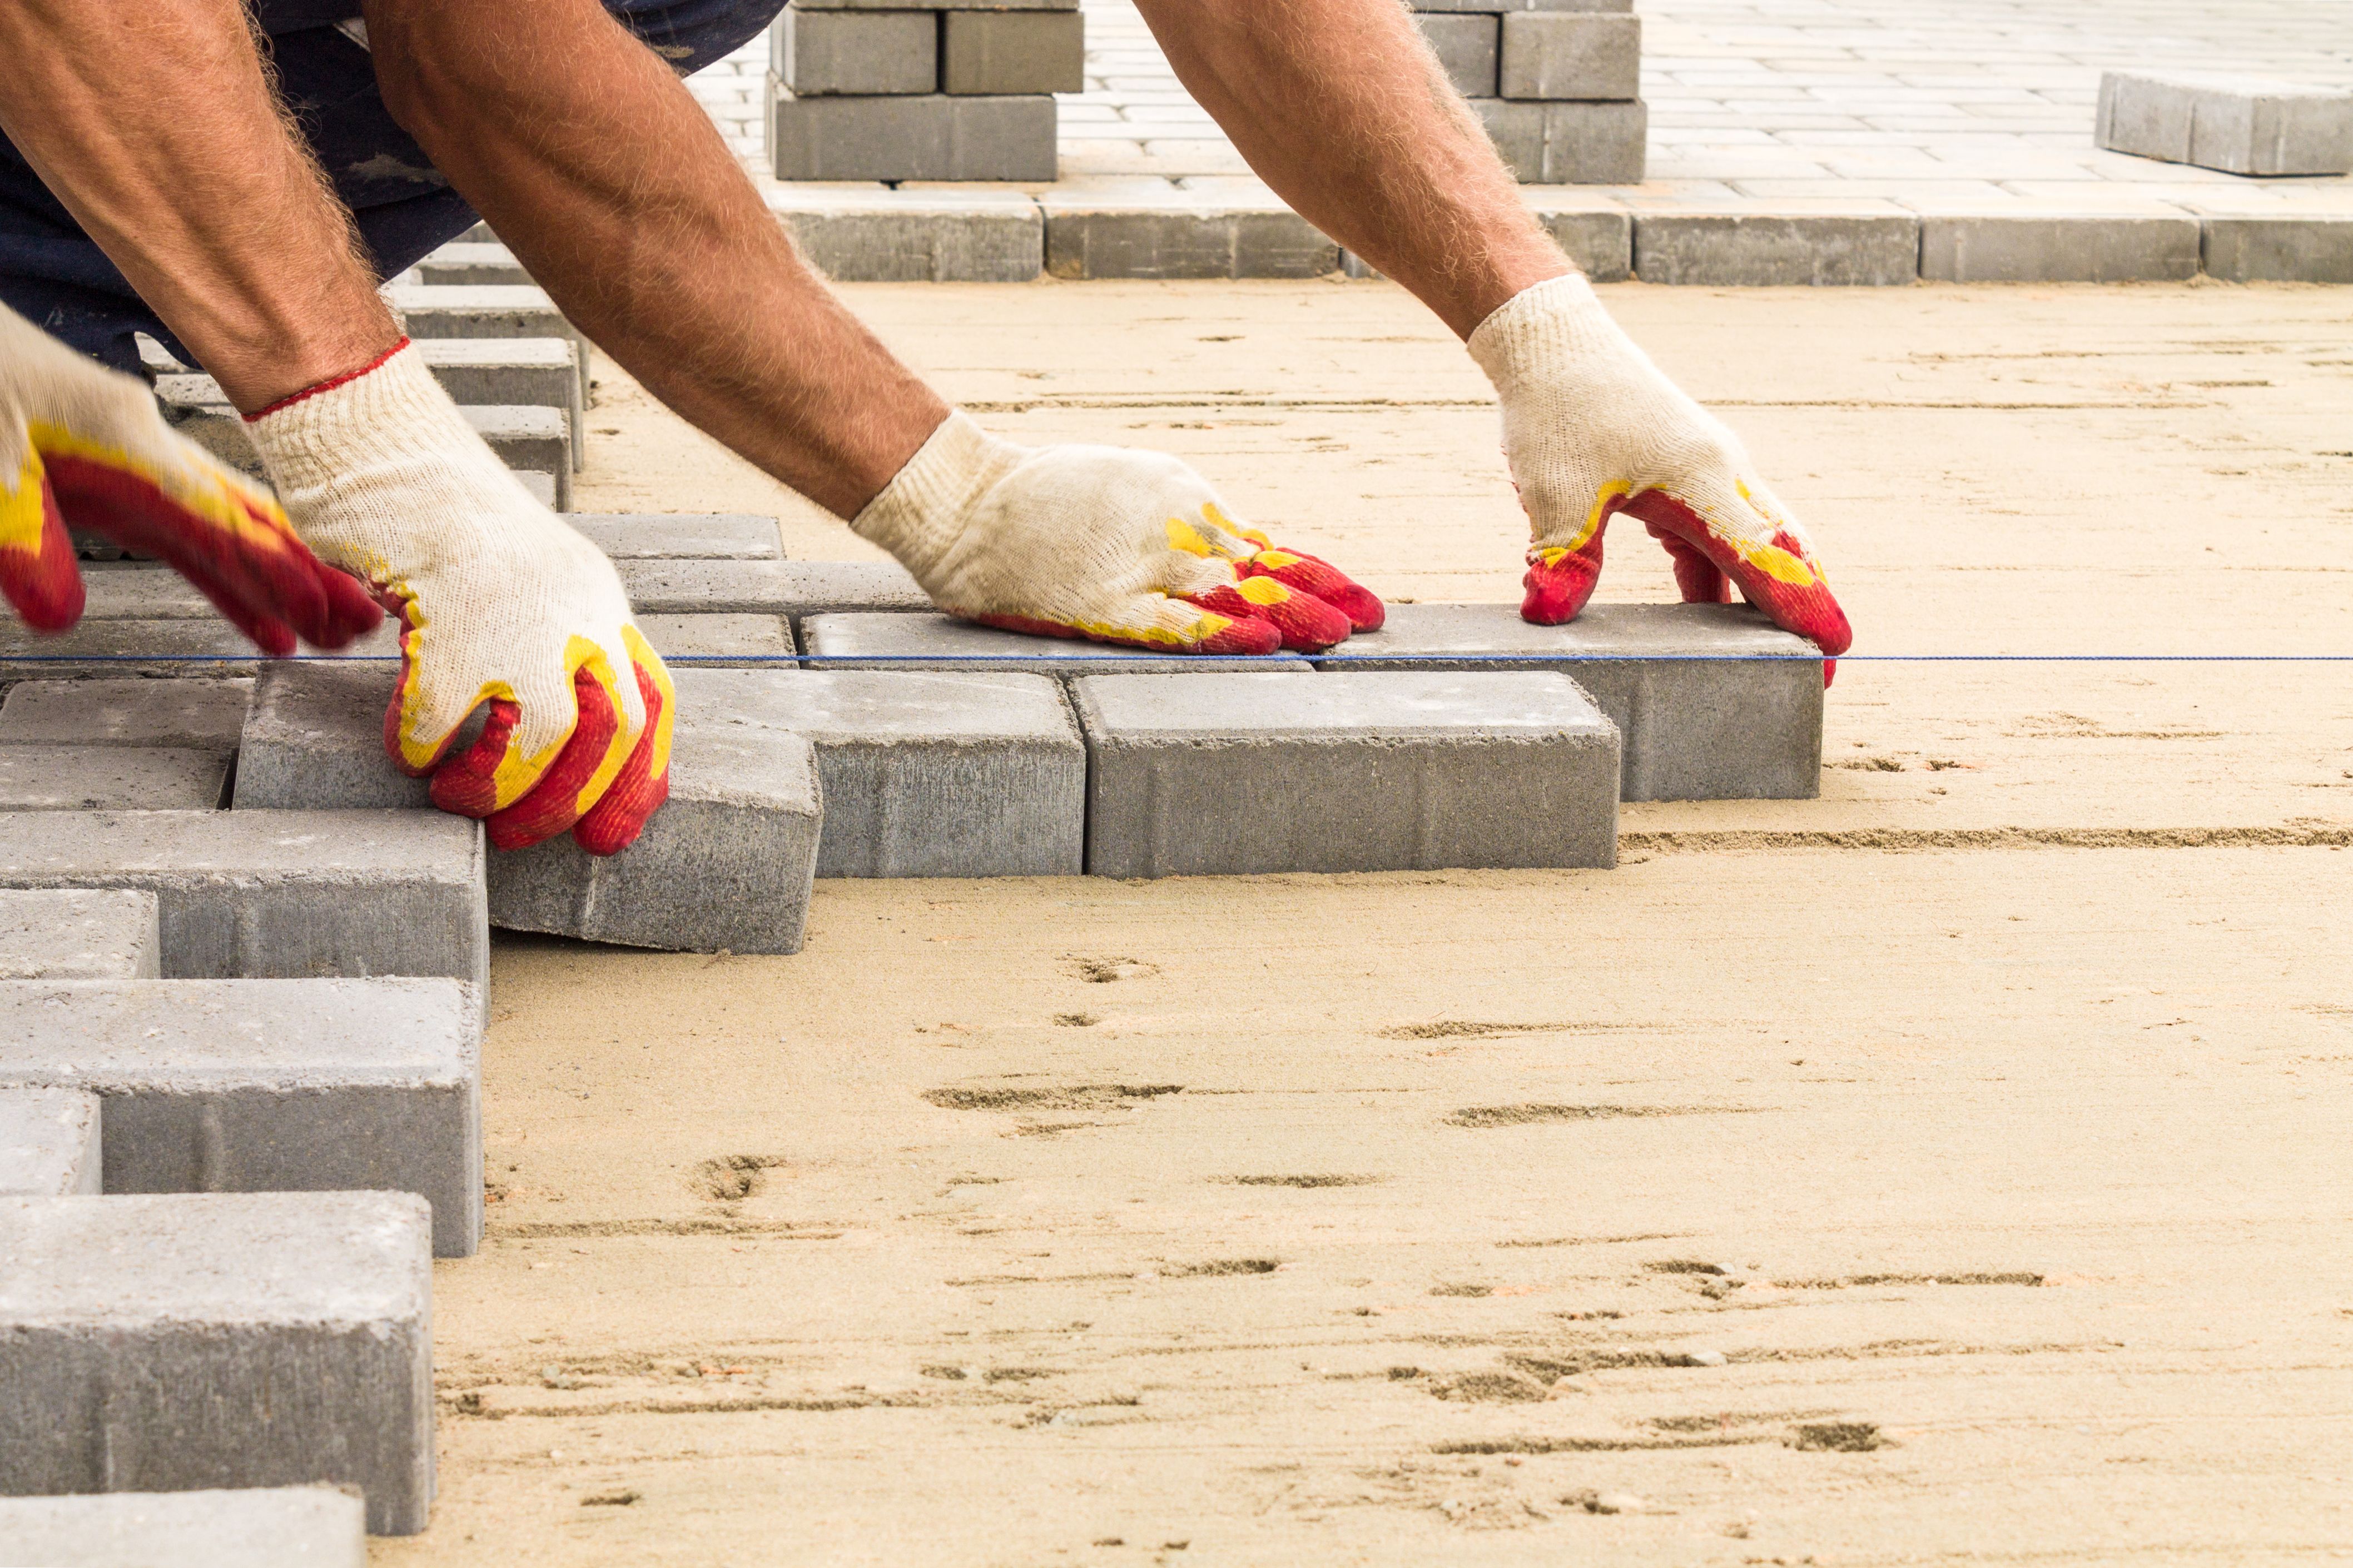
With the base layer prepared, it's time to lay the chosen material for your driveway. For asphalt and concrete driveways, this may involve pouring and leveling the mixture before it sets. Paver driveways require careful placement of each stone to ensure a uniform appearance.
It's advisable to hire experienced professionals for this stage, as improper installation can lead to uneven surfaces, cracks, or premature wear. A well-installed driveway not only looks appealing but also stands the test of time with minimal maintenance.
Finishing Touches
Once the main construction is complete, focus on adding finishing touches to enhance the overall look of your new driveway. Consider edging options such as bricks or stones to create a defined border that complements your landscape design.
Add landscaping elements like flower beds or shrubs around the driveway to soften its appearance and blend it seamlessly with your home's exterior. These final touches can significantly boost your property's curb appeal.